
This being my first post, I wanted to give y’all some content that could be useful to both my photographer and filmmaker friends out there. And for my first trick I’ll be talking about *drum roll please*… Lighting!!
A lot of people underestimate how important it is to get lighting right. It can literally make or break how a film, even a photograph, affects you. Yet, A lot of us have access to lighting all the time, whether that’s a nightstand lamp, a pocket flashlight, or even the laptop screen that you are looking at right now!
When you first want to make a film most people now a days use the tiny little box that they have in their pocket for most of the day. Every moment is an opportunity. You could make a video while lounging in your room, walking to your next class, sitting on the Marta as you are going to work (well, the last one only if you have lived in Atlanta like me).
My point is this: you can make a film anywhere you’d like, and with that comes so much power. You don’t need to have everything planned out, and you certainly don’t need a massive cinema camera and a million-dollar budget to make a movie. I mean look at what TikTok and Vine gave to the world. Many people can tell their story in thirty seconds or less, without having any ten-thousand-dollar lighting set up, without needing a huge film crew, without being required to answer to an authority before saying what you feel needs to be said. So many of these posts have the potential to earn thousands, possibly millions, of likes if it catches the right audience and algorithm.
You’re probably thinking to yourself, “Cool. I get it. We can make a movie wherever, but that doesn’t mean it can look good. I need that professional equipment to get a good-looking image.” And that, my friends, is where this challenge begins
I decided that I was going to give myself an hour to take a random object from my home and try to light it to where it could look like it could be in a commercial. I had made a quasi-professional-looking image with no budget and some lights that were at my parents’ house in Kennesaw.
I pulled my iPhone out of my pocket, set the timer, and…
*CLICK,* I was off!
Even though it seems like two hours is a lot of time it really isn’t for a task like this. I had to decide what to shoot, how to shoot, and whether I needed to go shopping or not.
I was looking around my parents’ home; my mother grew up with pets, so half of the pictures in our house are either her bulldogs or her pot-bellied pig, Ethel. So around every corner would either be a framed photo of our family or glamour shot of an animal my mom had 20 years ago.
I liked the photo of Ethel, and I thought about using that one, originally, but then I thought about the glare that could result from lighting the glass cover of the picture frame. It would have put limits on how it lit it, and I didn’t want that, considering the few resources available to me.
I checked my basement. nothing interesting…
I walked around the perimeter of my yard to see if I could find a plastic toy. Wasn’t there…
I even checked our fridge, still nothing inspired me.
I spent 30 minutes trying to find something, and I was running way behind schedule!
I did a last-ditch effort and started digging through my closet for some interesting lapel button I had worn a few months back; I still haven’t found it to this day. This was starting to feel disappointing, and I was about to settle for a piece of school supplies, and pretty much try to make a lighting set that could have been like a Target commercial. White background, lots of light, no shadows, etc.
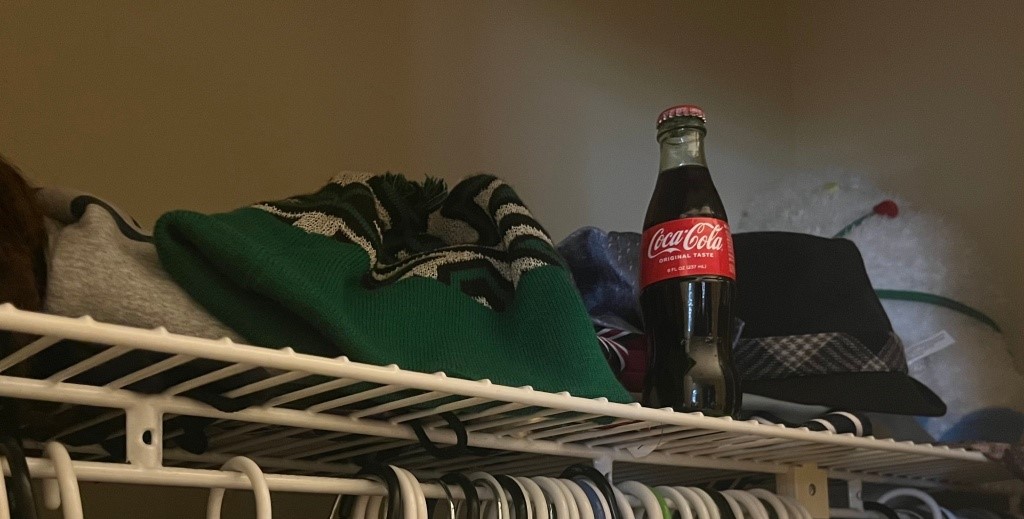
But I looked up on a closet shelf and found a glass Coca Cola bottle that KSU gave me at an event close to two years ago. I don’t know how I had forgotten about it, but that was it. I was going to try to go for the tone of a cinematic-looking Coke commercial.
I was now at 20 minutes, but at least I had some direction.
I chose my dad’s upstairs office because I wanted the look to be warm and intimate. Because his desk had a lot of good wood-tones and some black synthetic leather on the top of the desk, I knew that would have been a good spot. My Dad was not home and was not expected to be home for hours, so I took a picture of how his office was set up and then pretty much started throwing everything off his desk.
Now was time for what was most important: lighting! For some background, when you light for a portrait, filmmakers often use a three-point lighting technique, which requires these things: a key light, a fill Light, and a back light.
A key is your first light and in a traditional lighting set-up is positioned above the subject and at a 45-degree angle toward what you’re shooting. Doing this adds contrast to your image, usually. I used a tree-lamp in my dad’s office for this; it had only a thirty-watt incandescent bulb. Because the bulb was frosted, it made the subject look more flattering, too.
Second, a fill light is usually put on the opposite side and at the same angle to fill in the shadows created by my tree lamp. I just used some cool light that was being projected from a window to do the job.
Lastly, we have the back light, which as you might have guessed, comes from the back; it’s what makes your subject “pop” and separates it from the background. Now, I found easy success with the tree lamp, but with the back light was terrible. I either couldn’t find a light that was bright enough or the light fixture kept getting in the way.
10 minutes left…
I kept struggling and the time kept ticking down. I was thinking about how I was going to get through this. I thought, “I can’t let my first post be a bust, I’ll have to post again next week!” I practically sprinted downstairs to see if I could salvage one of my dad’s work lights from the garage, and it turned out that he had a Home Depot flood light, and the color temperature, by coincidence, was about the same as the lamp I was using upstairs.
I had positioned the flood light on a stool, placing a million stacks of old folders beefed up by old papers between the two. It was on full blast and diagonally toward the coke bottle.
TWO MINUTES!!
I had NO TIME. “Stop thinking, just do” I told myself. I opened a journal and put it next to the bottle. I pulled out my iPhone, adjusted camera exposure a little and started as many photos as I could. I finished. I went back to my timer.
3…2…1…*Crazy, Frenzied Alarm Noises*
I was done. I did it, and not too badly either!
Results:
For the first photo I had crawl onto my roof to get a shot that had everything in frame. Everything looks natural and super warm, which is what I was going for!

For the second photo, I tried to use the iPhone equivalent to a wide focal length, which makes objects up close look closer, and background look further away; That is why the bottle looks so pronounced in this photo. I also noticed that I tilted the camera a little too much, but honestly, I still really like how it turned out.

I took a million photos; these turned out to be some of the better ones, but overall, our first DIY lighting set-up challenge was a success.
I hope y’all found this helpful, and I hope you ended up learning as much as I did through this activity. This gets to the heart of using what you have to make way for things that you love. Even though this is simply lighting a coke bottle; I had a blast getting to challenge myself and I think I’m a better filmmaker because of it.
Y’all have a great Labor Day Weekend; I’ll have something again next week;)

Leave a comment